Chapter 5 - Rendering Service: Installation
The Qdabra DBXL Rendering Service works with DBXL to render submitted documents as PDF and send them by email. This chapter guides you through the installation of the service: installing and configuring the prerequisites (IIS SMTP Service and the DBXL Administration Tool), running the setup wizard, starting the service, editing its configuration file, creating an Email Mapping in the DBXL Administration Tool (DAT), testing the mapping, and the additional steps for installing on Azure. If you have any questions about the service that are not discussed here, contact [email protected] for assistance.
5.1 Prerequisites
The Qdabra DBXL Rendering Service requires the following components:
- IIS SMTP Service: a component for forwarding e-mail messages to an SMTP server for delivery.
- DBXL Administration Tool
Note: This guide assumes that the SMTP Service of Internet Information Services (IIS) is installed and configured on your server to send e-mail from an ASP.NET Web application. If the IIS SMTP Service is already installed and configured, skip to section 5.3. Otherwise, follow section 5.2.
5.2 Install the SMTP Service
The SMTP service is not installed by default with IIS. You must install the SMTP service via Server Manager - Dashboard. Installing the SMTP service creates a default SMTP configuration that you can then customize by using IIS Manager.
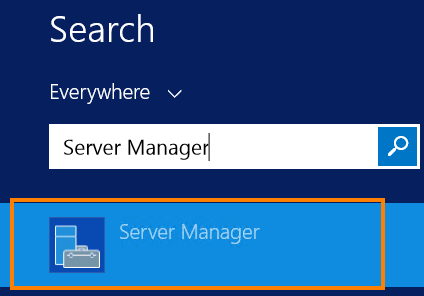
- On the Start menu, click the Search icon, type in
Server Manager, and then click the Server Manager app.
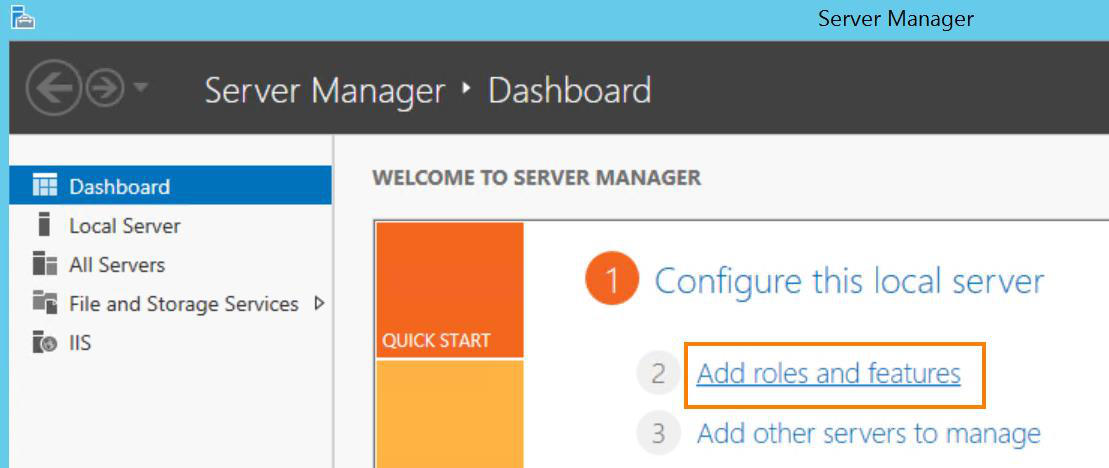
- From Server Manager > Dashboard, click Add roles and features.
- Click Next on the Before You Begin page.
- Select Role-based or feature-based installation and click Next.
- Select a desired server and click Next.
- In the Server Roles section, tick Web Server (IIS). You may need to add/install this feature if not yet installed. Click Next.
- In the Features section, tick SMTP Server and install.
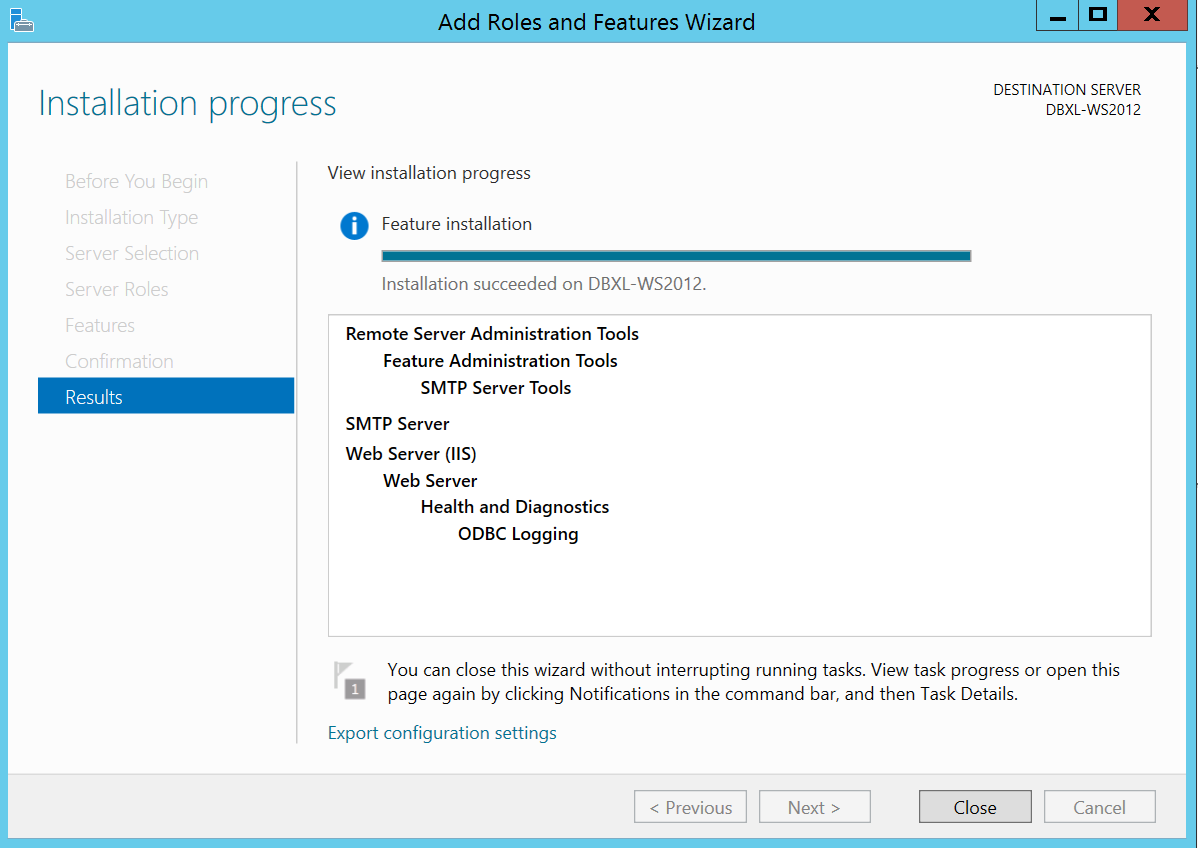
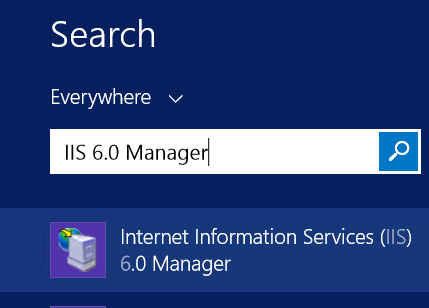
- After the installation, open the Start menu. Type in
IIS 6.0 Managerin the search box, and click to run the program.
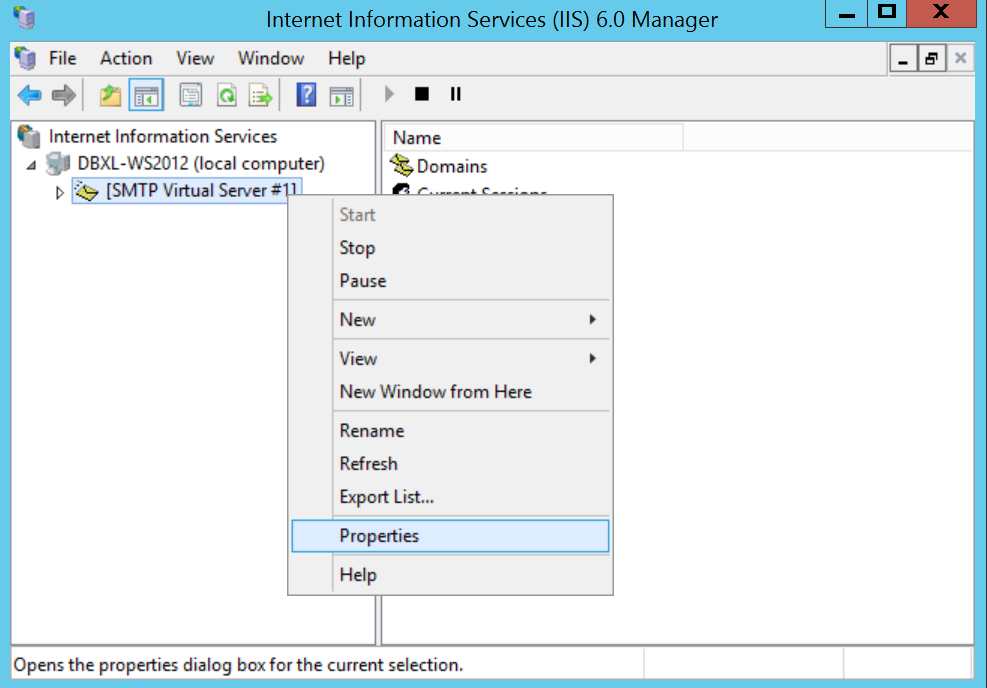
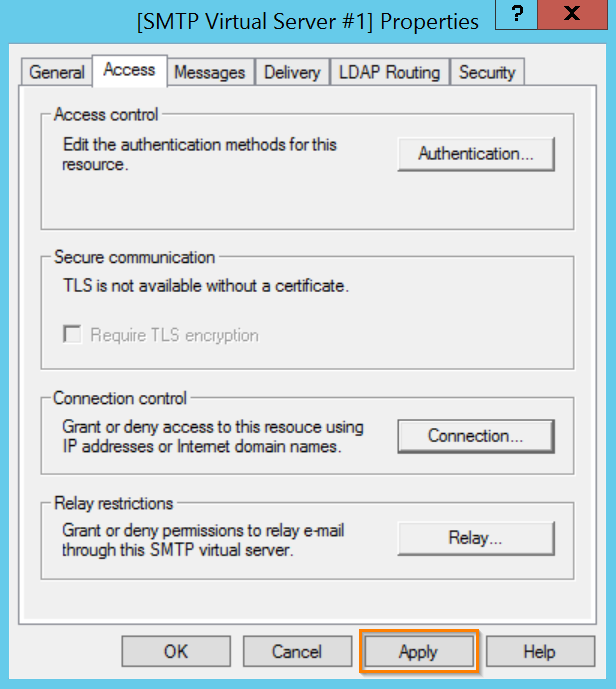
- Right-click SMTP Virtual Server and click Properties.
-
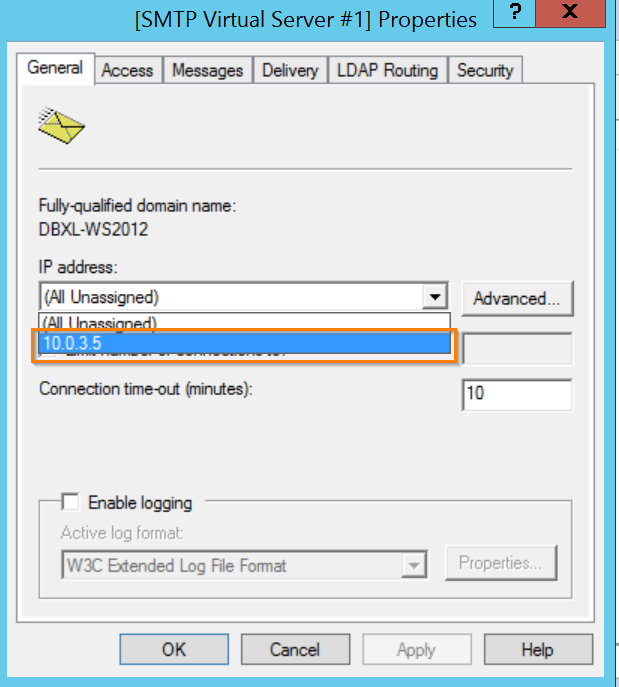
Select the server's local IP address (this should be the only IP address in the drop-down).
-
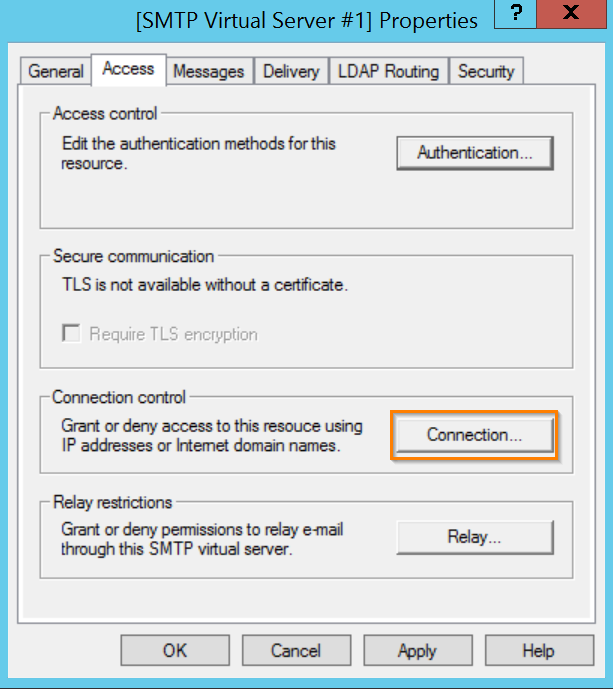
Click the Access tab.
-
Click the Connection button under the Connection control section.
-
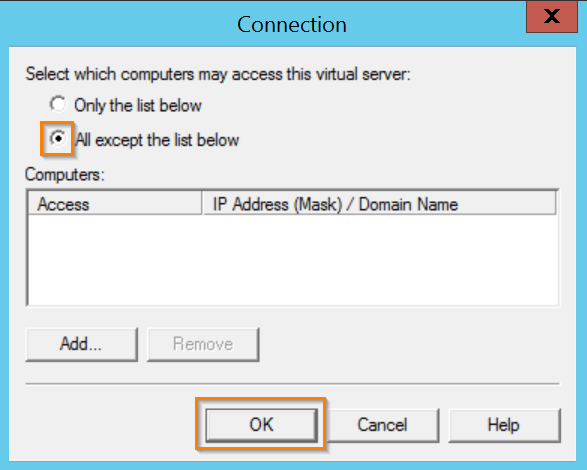
Select the All except the list below option and click OK.
-
Click Apply and OK.
-
Open the Start menu, type in
Servicesin the search box, and click to run the program.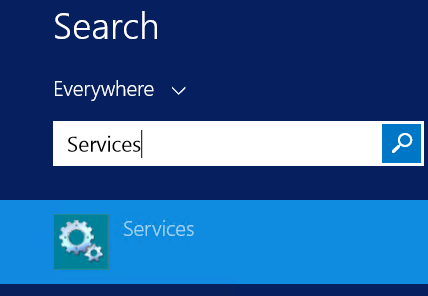
-
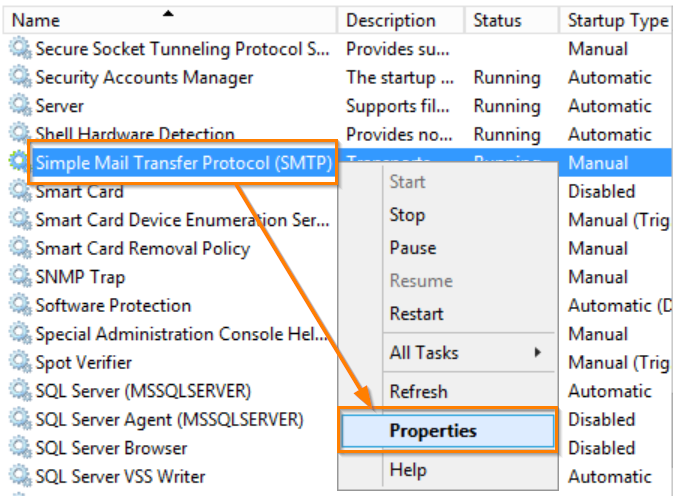
Right-click Simple Mail Transfer Protocol (SMTP) and click Properties.
-
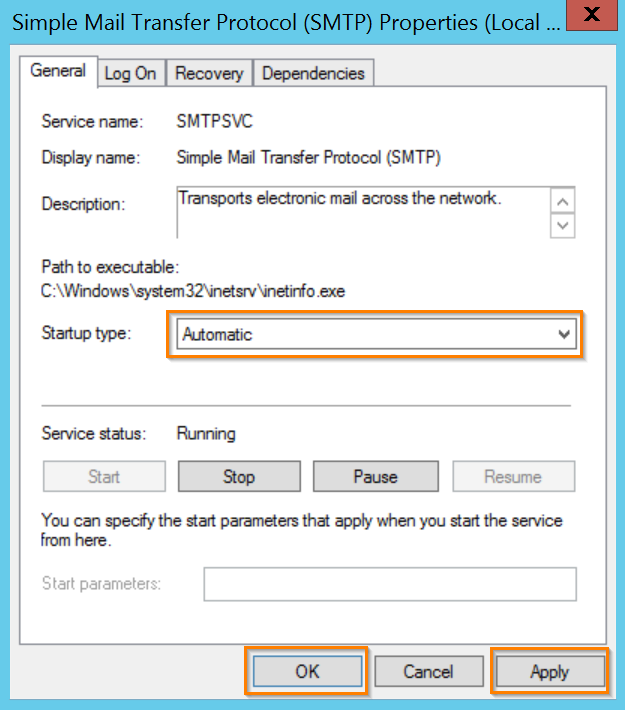
Set the Startup type to Automatic. Then click Apply and OK.
-
Stop and start the service.
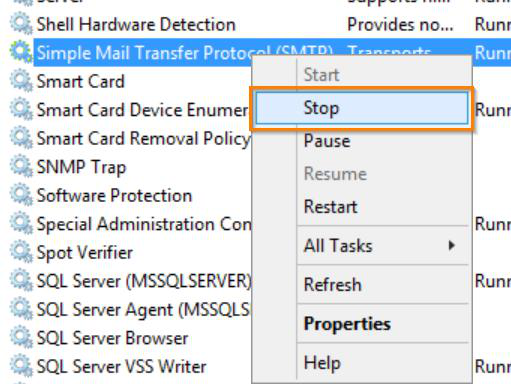
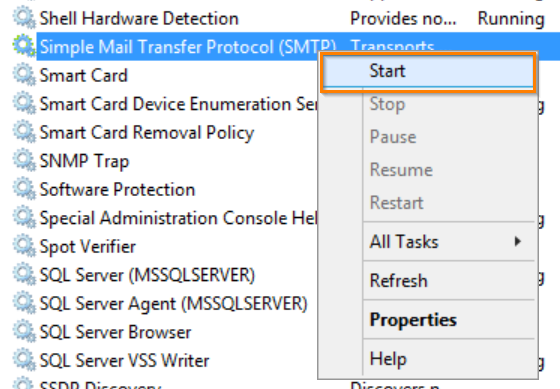
-
Click OK.
5.3 DBXL Administration Tool
Another requirement for the DBXL Rendering Service is the DBXL Administration Tool, which will allow the PDF Rendering feature to run.
To install Qdabra's DBXL, download the trial version and follow the steps in the installation guide included in the DBXL installation package (see Chapter 1 - Installation).
If DBXL is already installed, proceed with installing the Qdabra DBXL Rendering Service.
5.4 Install the Qdabra DBXL Rendering Service
- Right-click
setup.exeand select Run as administrator.
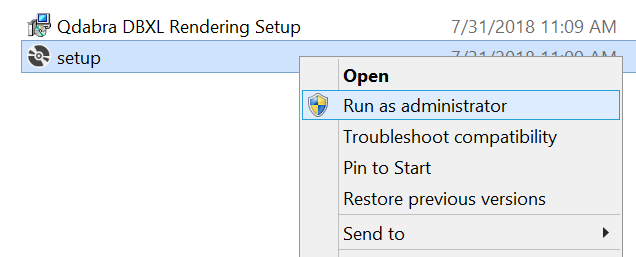
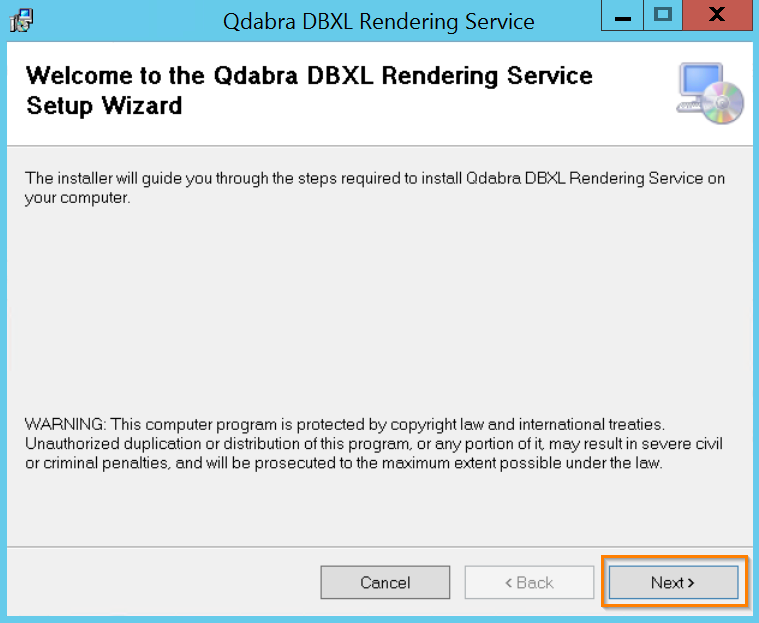
- Click Next in the Welcome screen.
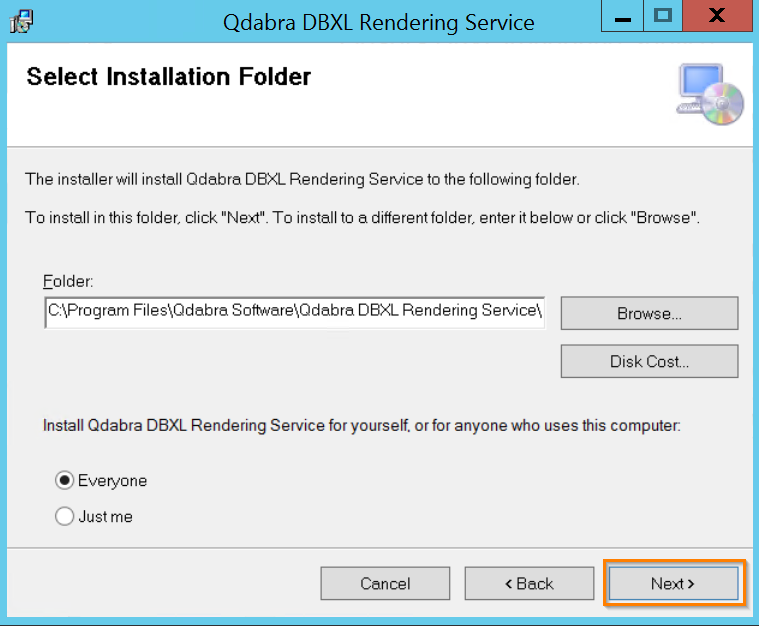
- Select the installation folder location (the installer selects the existing Qdabra Software folder location by default:
C:\Program Files\Qdabra Software\Qdabra DBXL Rendering Service\). Click Next.
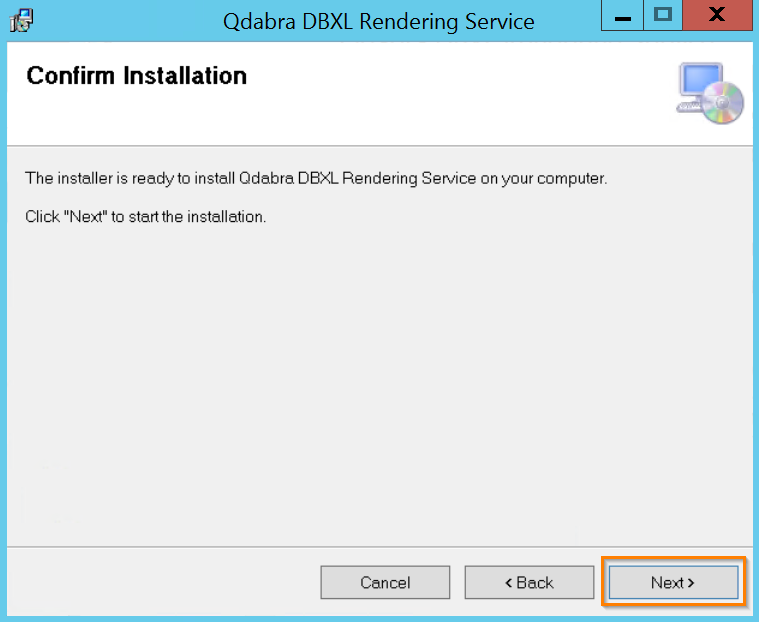
- Click Next to confirm the installation.
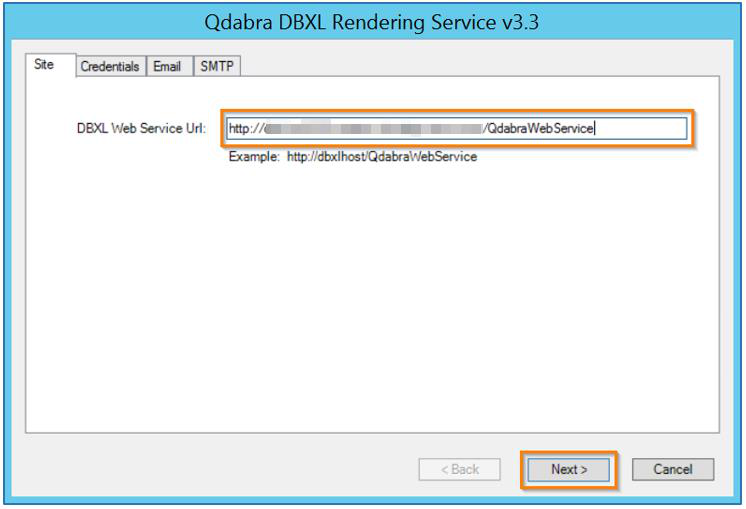
- In the Site tab, enter the DBXL Web Service URL. Note that the URL entered here should be the fully qualified URL used by DBXL. Click Next.
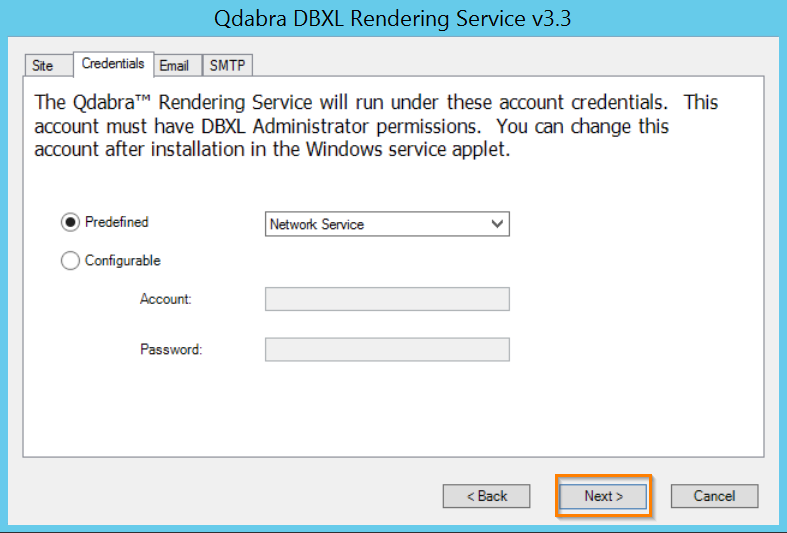
- Select between Predefined and Configurable account credentials.
-
If you select Predefined, you will not need to provide credentials.
-
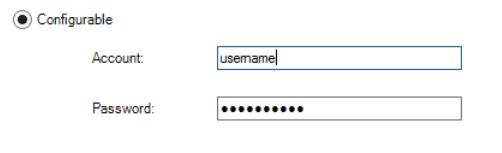
If you select Configurable, you must provide an Account and Password.
-
Click Next to proceed to the next tab.
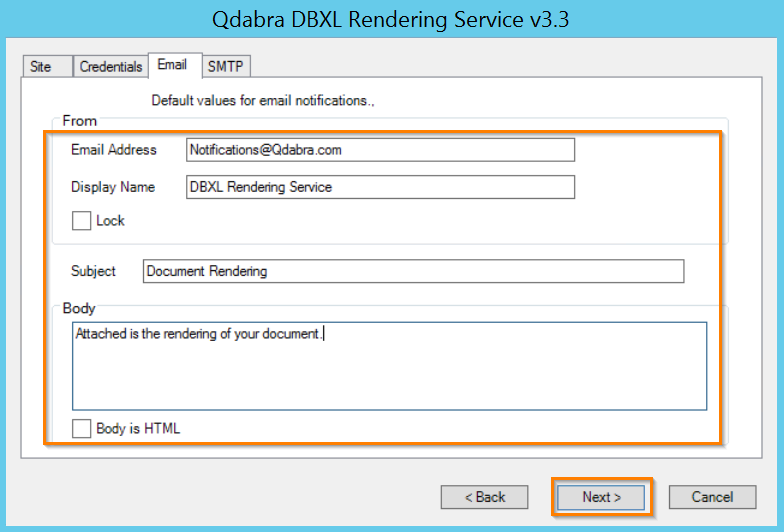
- Configure the Email settings.
- Click Next to proceed to the next tab.
-
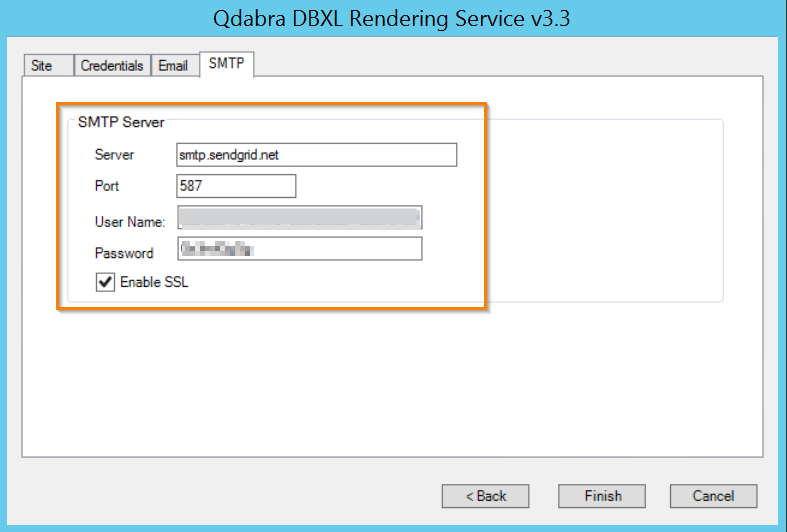
Configure the SMTP settings. Setting up the SMTP settings on an Azure Cloud Platform requires filling out the fields as shown below, as well as enabling SSL.
-
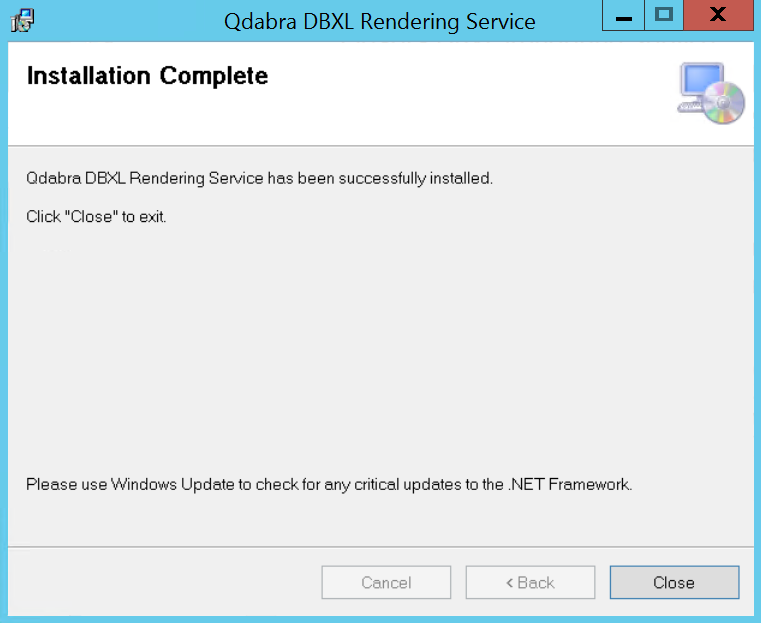
Click Finish to complete the installation process.
-
Close the installation wizard.
5.5 Start the Qdabra DBXL Rendering Service
- Open the Start menu, type in
Servicesin the search box, and click to run the program. - If prompted by UAC, click Yes.
- Right-click Qdabra DBXL Rendering Service and select Properties.
- Next to Startup type, click the drop-down menu, select Automatic, and click Apply.
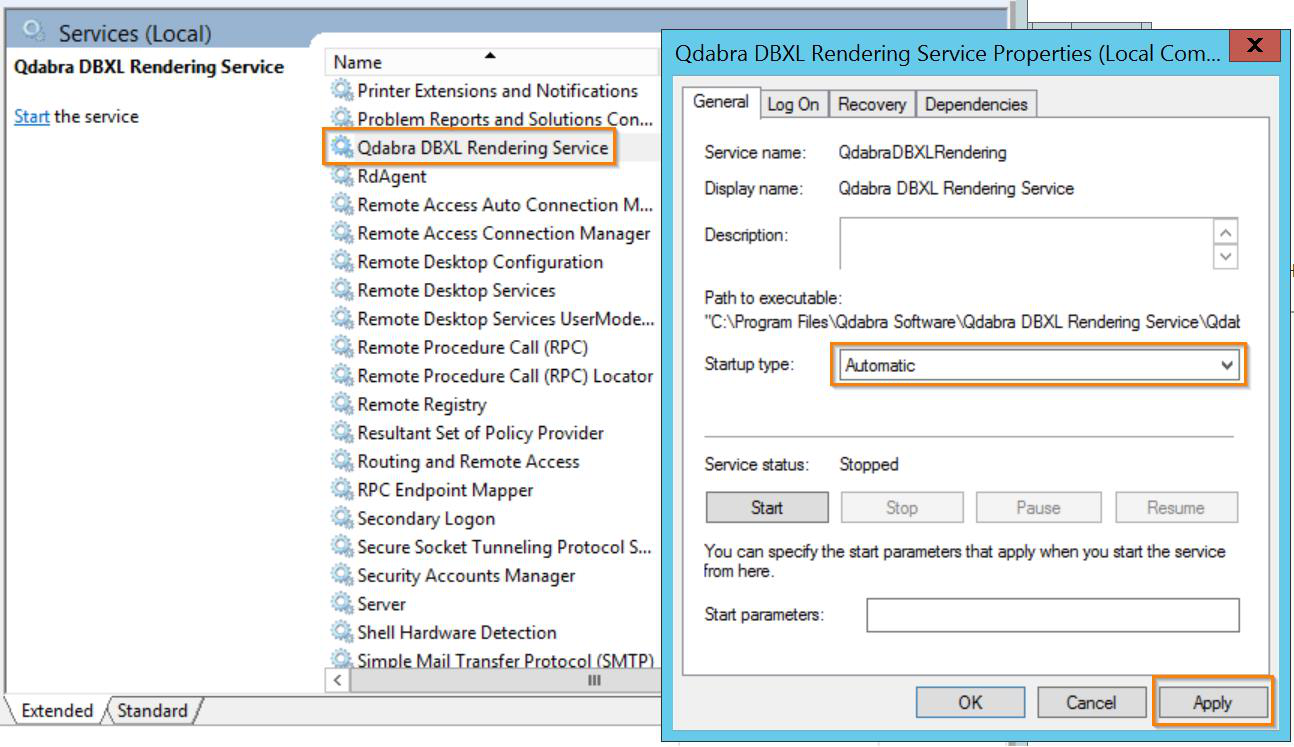
- Click the Start button and click OK.
Note: If the Start option is greyed out and the service will not start, you will need to restart the computer to start it after you set it to Automatic and clicked OK.
5.6 Editing the Qdabra.Dbxl.Rendering.exe.config
If the DBXL Rendering Service needs to be configured manually, follow the steps below:
- Locate the folder where the DBXL Rendering Service is installed. By default, the files are installed in
C:\Program Files\Qdabra Software\Qdabra DBXL Rendering Service. - Inside the Qdabra DBXL Rendering Service folder, edit
Qdabra.Dbxl.Rendering.exe.configusing a text editor such as Notepad or Notepad++.
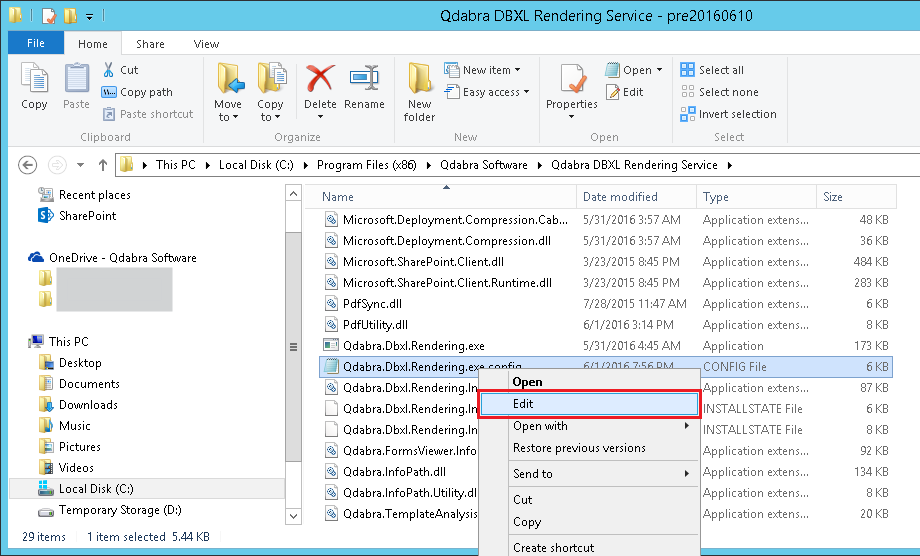
Here is how the config file appears in Notepad++:
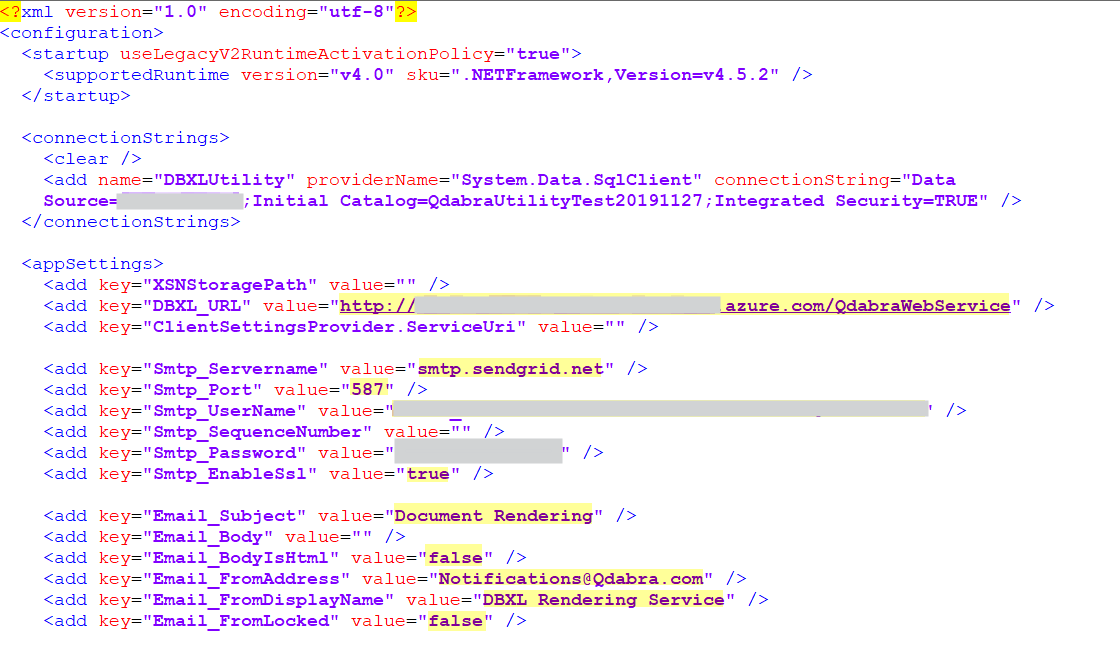
Notice that the highlighted values are the ones specified when the Qdabra DBXL Rendering Service was installed. Editing these values spontaneously updates the settings of the service.
5.7 Create an Email Mapping
In this section, you create the Email mapping configuration in DAT.
- Select the Document Type in DBXL you'd like to add the mapping to.
- Click the Email tab to open the Email Mapping configuration page.

- Click the New button to create an Email Mapping for the current doctype.

- In the Mapping Basic Info section, select the view to render as PDF and enter a mapping name.
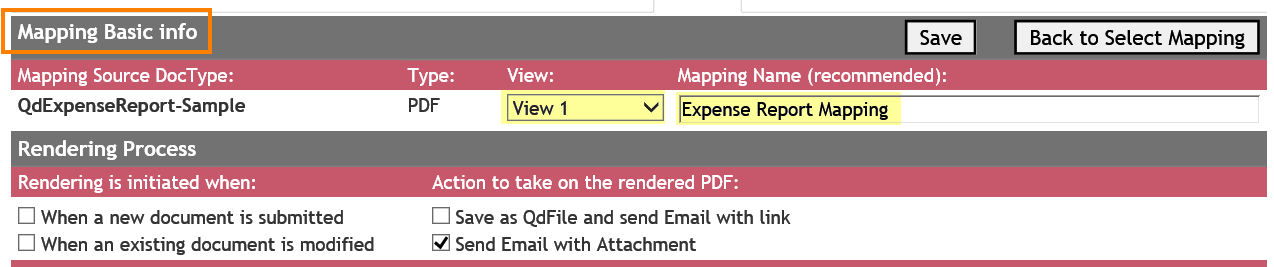
- In the Rendering Process section, you can configure the mapping so that it runs based on a condition.
Below are the options for initiation:
- When a new document is submitted: select this option if you need the mapping to run each time a new document is submitted.
- When an existing document is modified: select this option if you need the mapping to run each time an existing document is modified.
Below are the actions to take on the rendered PDF:
- Save as QdFile and send Email with link: select this option if you want to save the PDF under the QdFile system doctype and send an email with a link.
- Send Email with Attachment: select this option if you want to send an email with the PDF attachment.
Note that you can select a combination of these conditions:

- In the PDF Naming section, you can enter the XPath to a field that contains the name for your PDF file.

- In the Additional Condition section, add a condition so that the email will be sent based on a condition set by your form rules.

- Archival location: if you want to save the PDF files into a local folder on your server, you may enter the path here. This is a very nice feature and works wonderfully with OneDrive for synching PDF files to SharePoint 2013 and Office 365. See PDF sync using OneDrive for reference.

- Rendering Contents: for the Email Subject, you may choose from Static Text or XPath Expression. In this example, an XPath Expression is selected, with a
concatfunction that combines "Expense Report" with the employee name. For Body, select the View option and select the view from the drop-down field.

-
Attachments: enter the XPath of the field where attachments are bound to. As an option, you can also enter the archive location and file name for archiving the PDF files.

-
Email Address
- From Address: select
staticfor the type and enter the email address you want to use for sending out the emails. This could be a group email (for example[email protected]) or any email you prefer to use for this solution. When selecting the dynamic option, you need to enter an XPath in the Email Address and Display Name fields.

- To Address: this can be dynamic or static.
-
Option 1: Dynamic. Next to the label Dynamic (XPath), enter the XPath to the field that contains the email address you want to send the email to. Also, enter the XPath to the field that contains the person's name (optional).

-
Option 2: Static. Next to the label Static, click Add To Email Address and enter the email address and display name of the person you want to send email to in the corresponding text boxes. Click Add To Email Address again if you need to add more email addresses.


- From Address: select
-
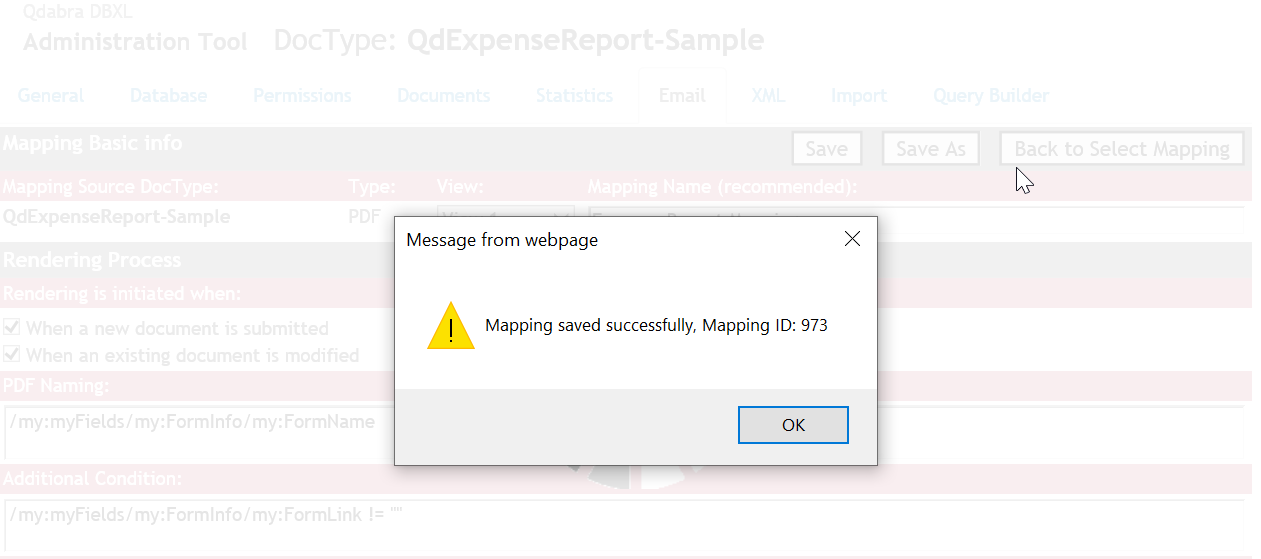
Now you're done with your mapping. Click Save.

5.8 Test your mapping
- Submit a new document by opening your form. If the mapping is set to run based on a condition (for example, when the mapping runs only if an existing document is modified, or additional conditions are added), make sure that these conditions are satisfied when you submit a document.
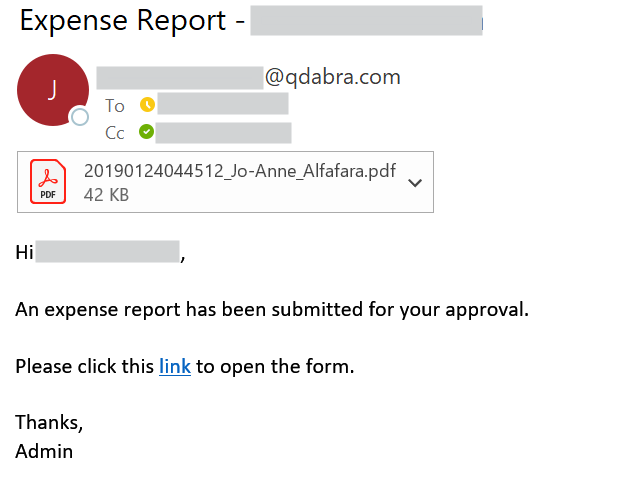
- If the mapping has been set up correctly, you will get an email with a PDF attachment. Here is an example:
5.9 Additional steps for installing on Azure
- Create a
pdfsvcaccount. - Change the account used by the PDF service.
- Add
pdfsvcto DbxlAdmins. - Grant full permissions to the
pdfsvcaccount onC:\program files\Qdabra Software\Qdabra DBXL Rendering Service\. - Change the PDF service to Automatic (Delayed Start).
- Change the SMTP port number to
587(from465). - Start the service.
5.10 Troubleshoot errors
To troubleshoot errors encountered with the rendering service, see Chapter 6 - Rendering Service: Troubleshooting.
5.11 Getting help
For help, active customers can use the Customer Support Portal. For anything else, use Contact Us or e-mail [email protected].
5.12 Summary
- The Rendering Service needs the IIS SMTP Service (installed through Server Manager > Add roles and features and configured in IIS 6.0 Manager) and an installed DBXL.
- Run
setup.exeas administrator and fill in the Site, Credentials, Email and SMTP tabs; the service account must have DBXL Administrator permissions. - Set the Qdabra DBXL Rendering Service to Automatic in Services and start it; restart the computer if Start is greyed out.
- Settings entered during installation are stored in
Qdabra.Dbxl.Rendering.exe.configand can be edited there. - PDF rendering and email delivery are configured per document type on the Email tab of the DBXL Administration Tool, then tested by submitting a document.
- On Azure, run the service under a dedicated
pdfsvcaccount with Automatic (Delayed Start) and SMTP port587.